One of the more difficult parts of preparing for going to Thailand later this month was figuring out how to get rid of my goldfish. I didn’t want to ask anyone to feed it because I’d really been meaning to get rid of it anyway; I just don’t have the time to take care of it and I’m gone too much to feed it with regularity.
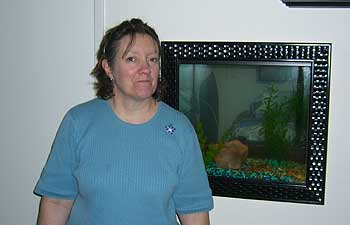
As anyone who has visited my home knows, I have a 25 gallon (or so) goldfish tank built into the wall. I didn’t create the hole in the wall or the frame, that was done by the previous owner of my home so he could put a CRT television in the wall in (I’m guessing) the 1990s. Obviously I had no use for a CRT in the wall – so I had a guy from a local fish store build a tank custom to the dimensions of the opening.
In the photo below from 2007 you can see my mother standing next to the tank.
After trying to sell the tank and/or fish on craigslist for about a month with no solid leads (a lot of people wanted the tank without the fish) I decided to ask around at work. On Saturday a coworker came and bought the entire set-up.
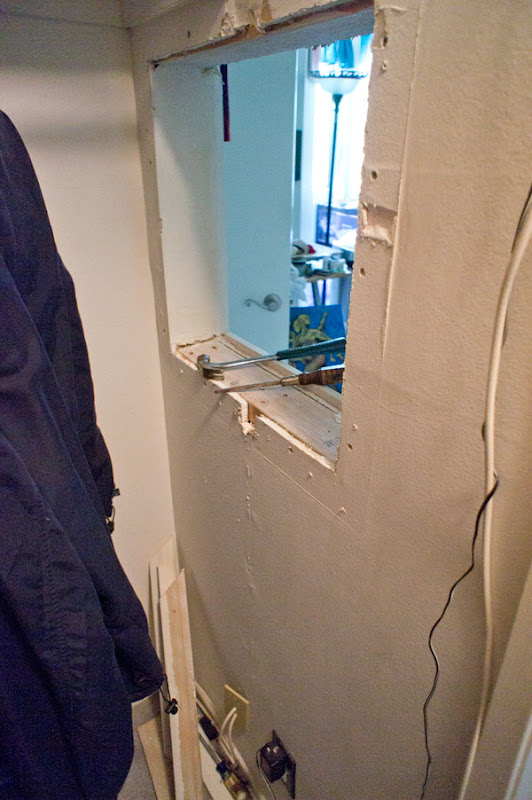
After the tank was out and the brace/shelf removed I wasn’t sure what I wanted to do with the space. I quickly decided that I’d hang a painting over the hole. However, when I started looking at the dimensions I realized that the frame was sticking out of the wall too far and was too wide to hang anything with any degree of aesthetic appeal. So, I decided to rip off the frame and take it from there. The black frame was nailed into another frame that had been screwed in with long wood screws into the actual studs in the wall. The below photos are of me taking the white frame off.

Since the guy had put putty and paint over the screws half of them were stripped, so I had to use a chisel to break the wood around the screws and then use vice-grips to twist them the rest of the way out (these were the LONG wood screws).

The back side didn’t have the black frame – but it also had a white frame with stripped screws, so everything I found on the front I had to do again on the other wall behind. Fun fun fun!
After looking at the mess the previous owner made of the wall when putting all of this in I decided it would be best to put in new drywall rather than try to do anything else with the space. I at first had thought about just making the edges smooth – but the uneven application of putty by the previous owner and other mishaps (sideways screws, etc.) meant it would probably not be worth it to make a smooth hole or a shelf (drywall in the back, but not front). So, that meant I had to strip down another inch on the top and bottom so I could screw drywall into the studs.

And below is the opening once I was done cutting away the drywall:

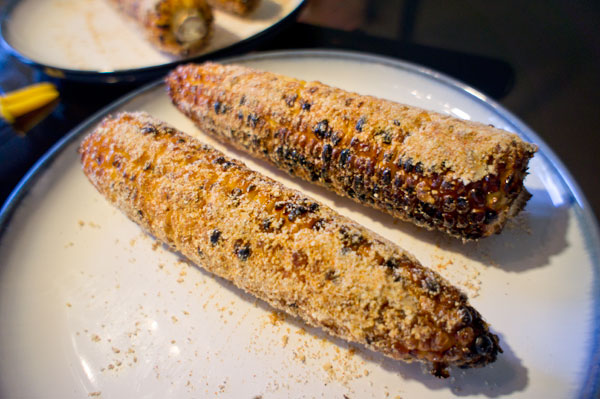
At this point it was time for dinner. Sam was staying at my place this weekend so we’d bought corn at the market the day before. For dinner she made roasted Parmesan corn on the cob.

Delicious! I used almost an entire stick of “butter” (mostly canola oil) on these. I would pay for it the next day with hours of “upset stomach” – but it was worth it… look at that…
The rest of the night was spent sanding and cutting excess drywall from the openings, cutting the drywall sheets and screwing them in.
The next morning it was putty time! I’m letting the putty dry for 24 hours before I start sanding and then painting, so here is how it looked Monday morning:

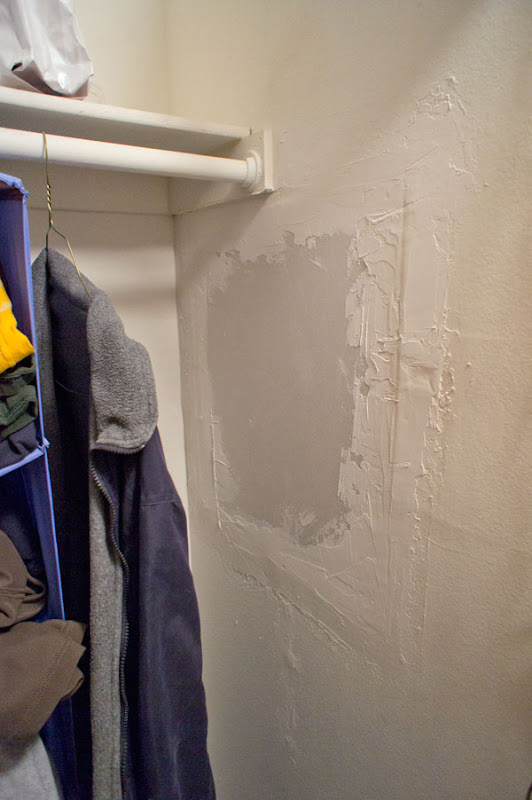
Note, I used the majority of the putty on the front and spent more time there because obviously the front will be far more visible. The hole in the back can be less “pretty” of a repair job because it will be covered by clothes. The way the previous owner had treated the wall in the back was far more….. difficult… to repair as well, so even though the above photo looks pretty nasty I think it is more than adequate given that when I took the frame off there were several chunks of the wall missing beyond the actual hole where the tank had been.
So – that was my first time installing drywall; easier than I thought.
The paint all over my home has this dimpled effect to it. Not sure how that was acheived and how I’ll get the paint on the front to match. Sponge?
UPDATE: not sponge – spray texture.
